The process of installing an inground pool typically involves the following steps:
- Design and Planning: The first step is to decide on the size, shape, and location of the pool. Once that is determined, a professional pool builder will create a detailed plan and obtain any necessary permits.
- Excavation: The area where the pool will be installed is excavated using heavy equipment, such as a backhoe. The excavated area must be level and graded properly.
- Plumbing and Electrical: The next step is to install the plumbing and electrical systems for the pool. This includes installing pipes and valves for the water circulation system, as well as electrical wiring for pool lights and any other electrical components.
- Framework and Rebar: Once the plumbing and electrical systems are installed, a framework is built using wood or steel. Reinforcing steel bars (rebar) are then installed within the framework to add strength to the structure.
- Gunite or Shotcrete: The next step is to apply the pool’s concrete shell. This is typically done using either gunite (a mixture of cement, sand, and water) or shotcrete (a type of concrete that is sprayed onto the framework and rebar).
- Tile and Coping: After the concrete shell has been applied, tile and coping are installed around the edge of the pool. Coping is the capstone around the edge of the pool, while tile is used to create a decorative finish.
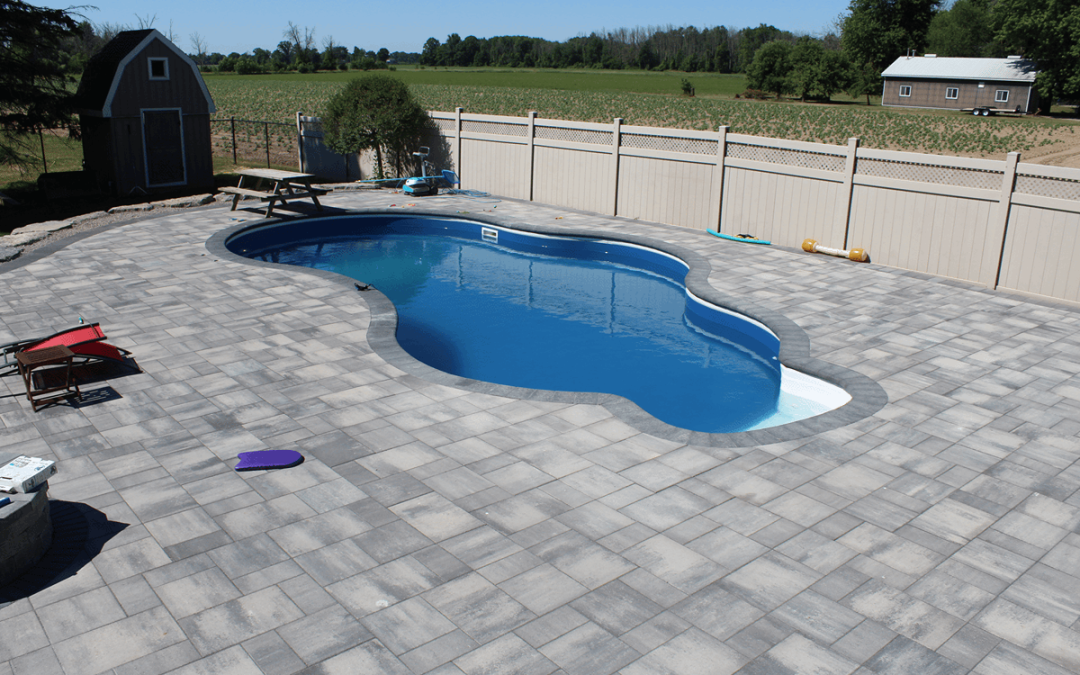
- Decking: The final step is to install any decking or paving around the pool. This can be done using a variety of materials, including concrete, stone, or pavers.
Overall, the process of installing an inground pool can take several weeks to complete and requires a team of skilled professionals. Once you have the pool, you may want a new deck or concrete patio to surround it. If you are looking for composite decking installers near me in Ohio, give Red Sun Construction LLC for options.